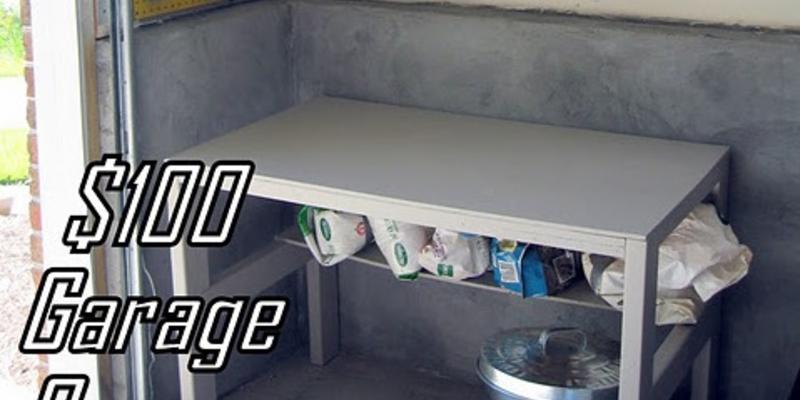
Our garage is a total basement wannabe. (We don't have a basement....it pains me.)
We HAVE to store lots of things in here and i am on a mission to make every corner work efficiently.
It's the first space we see when we come home and it's just stressful to walk into this mess every day.
After
Jen revealed
her garage a few months ago, I was really inspired,
especially by this little corner in her garage:
{Image via I Heart Organizing}
I bet that little corner is the most underutilized space in every garage in America.
It certainly was underutilized in my garage!
See those big huge slabs of counter top? Yeeeahhh......I may have been hording those...
...for eight a few years which may or may not have included two moves and three houses. It was time for them to GO!
Off to the Habitat ReStore!
I was also inspired by this photo from
BHG. I love the use of pegboard and I have been dying to use it in a project.
{Image via BHG}
Ok here we go.
I started with this table that my husband made long long ago. It was the desk he built for himself when we were in college.
I primed it with my favorite oil based Zinsser Cover Stain. I used a sponge brush and tossed the brush the trash for easy clean up!
Then I painted the table with two coats of a sample paint from Sherwin-Williams. (Note: sample paint is not durable. You will want to use a durable clear coat on top if you use it on something that will get a lot of use.)
I bought a peg board at Lowes. It comes in a few different sizes. This size is 4ft X 2ft. Perfect for my space.
Enter my best friend spray paint!!! This peg board really soaks up the paint, so I primed first. I think rolling the paint on would be a more efficient method, but I already had yellow spray paint.
I added a little strip of wood (on the right side) so that the peg board would fit nicely. See how that works? The board is screwed into the wood pieces on the right and left to allow space behind the board.
I also left a space of about an inch at the bottom of the board. (Unfortunately, we share our garage with gross little critters that like to crawl along that ledge. ewww...) The last thing I wanted was for one of our "friends" to get stuck behind the board. That would certainly not end well for anyone involved.
Next I hung the support strips for the shelves.
This required using power tools, a level, and some math. Impressive, aren't I?
These are the shelf brackets. They go into the white support strip things.
And there you have it!
Here is a break down of what I bought and how much it cost. (Store prices vs. online prices do vary. I find that things are usually cheaper in the store.)
FREE table, already had
FREE paint for table- Sherwin Williams sample paint, already had
FREE spray paint and Zinsser primer, already had
$12.00 Real Organized 43 piece pegboard organizer kit (buy
here)
$6.00 24"X48" pegboard (buy similar
here)
$28.00 2 rectangular galvanized bins bought at Lowes (similar
here)
$12.00 6 single track shelf brackets (buy similar
here)
$6.00 2 single track shelf tracks (buy
here)
$30.00 3 melamine white shelves (similar
here)
$8.00 4 yellow storage bins (similar
here)
_______
$102.00 Total
*The cute little galvanized bin under the table is also from Lowes. I ended up returning it, as I didn't really need it. I think it was about $15-$20. It has a lid and would be perfect in the garage for dog food, potting soil, etc.
**These specialty galvanized bins can be found in a few different departments at Lowes. Check the trash can isle or the closet and storage isle. There is also an area at Lowes near the paint brushes that has empty paint cans, buckets and other galvanized items. Check all three of these locations for handy storage.
***Other ways to save money would be to cut your own shelves...if you already have the wood on hand. I priced out whole pieces of plywood and also pre-cut wood boards. The price wouldn't have been much cheaper, and I would've had to take the time to prime and paint the boards.
I know in most of the country now is not a good time to be reorganizing the garage, given the weather. So, pin this bad boy and tuck it away for the spring! Your spring self will thank you.
