Just because it's freezing outside doesn't mean you can't look hot. Bring it, February.
Day 8: Sunday, Feb. 8—Wispy French Twist
Maybe class it up a bit today, because why not? Now, this is not supposed to be your granny's french twist, but a more textured, “thrown-up” french twist. Without using a brush, take your fingers and collect your hair to one side. Then, roll all of that hair towards the center back of your head, keeping in mind the shape of a french twist. Secure the twisted side with pins from top to bottom. Great, now you're brunch ready for Edmund's Oast—save me a seat!
Day 9: Monday, Feb. 9—Pulled Back Braids
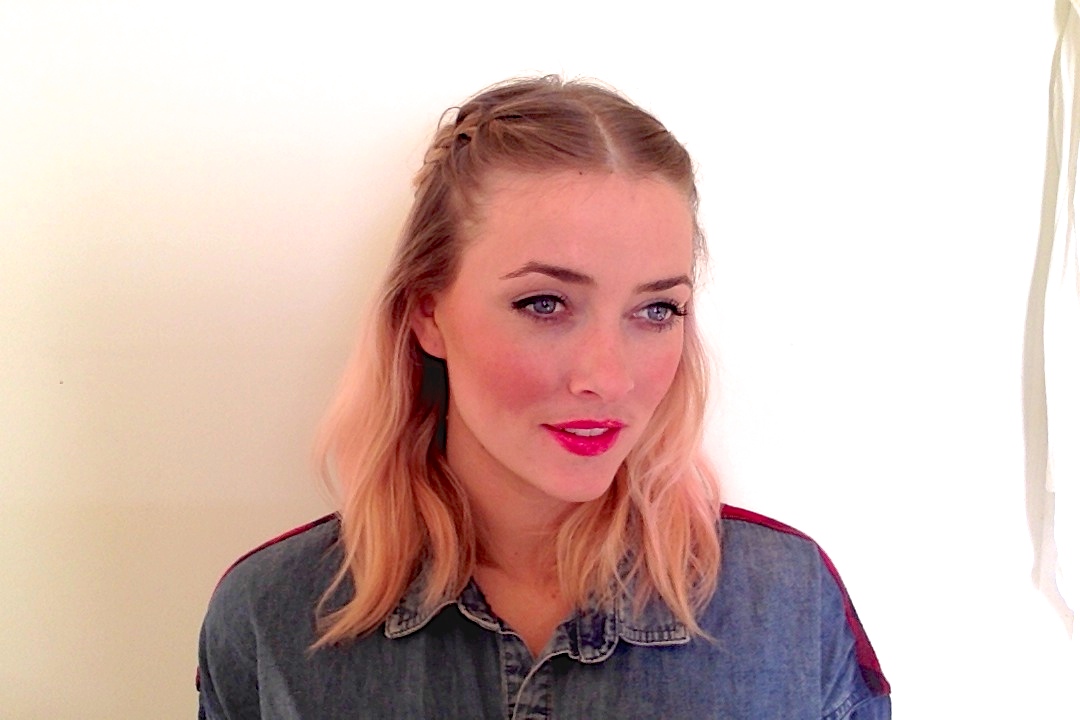
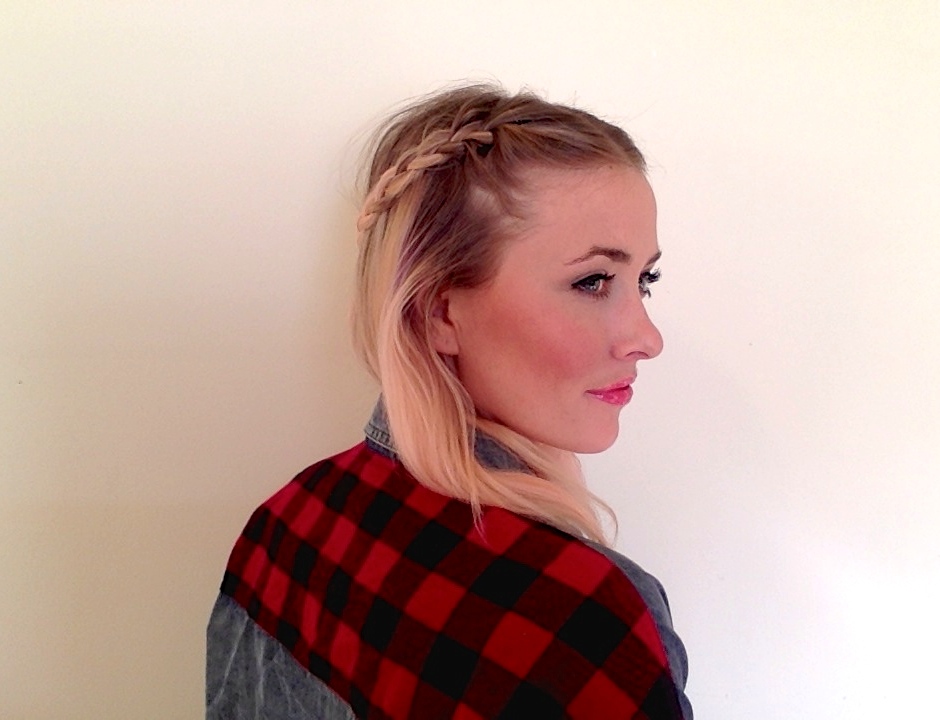
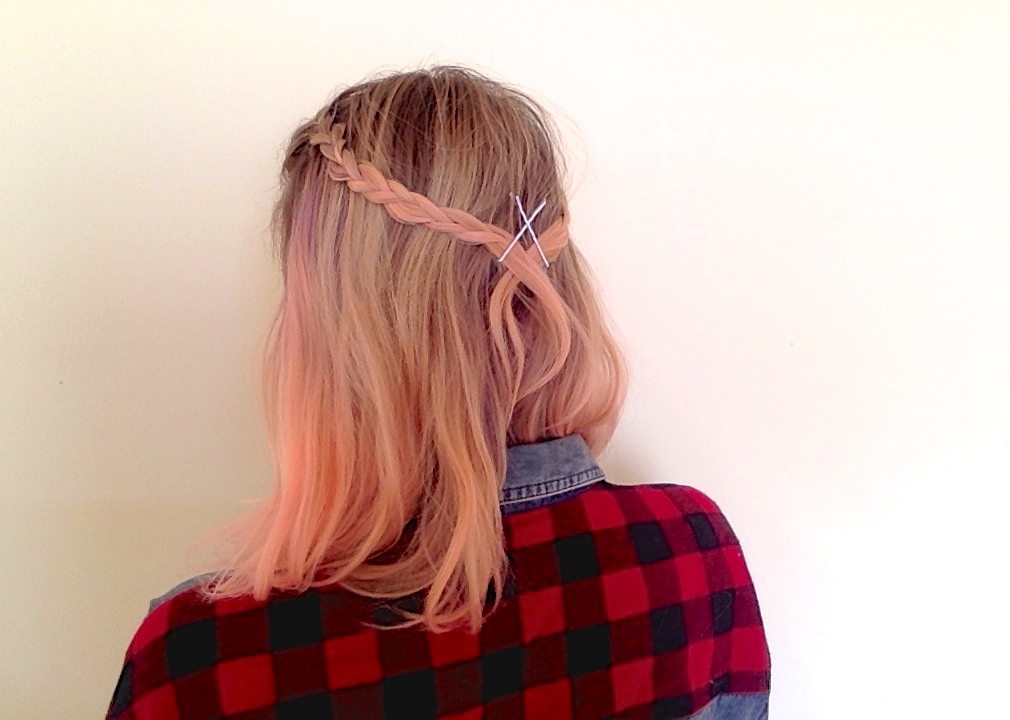
Braids are great for many reasons: they’re quick, easy, add immediate texture and visual interest...the list goes on. Messing with different braids of different sizes, as well as changing your part around, will give you endless amounts of different hairstyles. Today, I want to do a symmetrical look. Start with a center part, take a triangle section on one side, braid a single-strand braid towards the back of your head, and pin in the back. Take an equal section on the other side of part and repeat. Try to criss-cross the bobby pins for a cool accessorized look.
Day 10: Tuesday, Feb. 10—Rolled Up
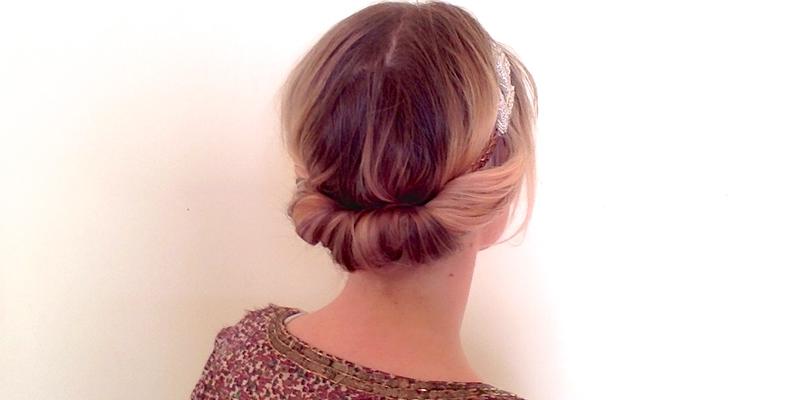
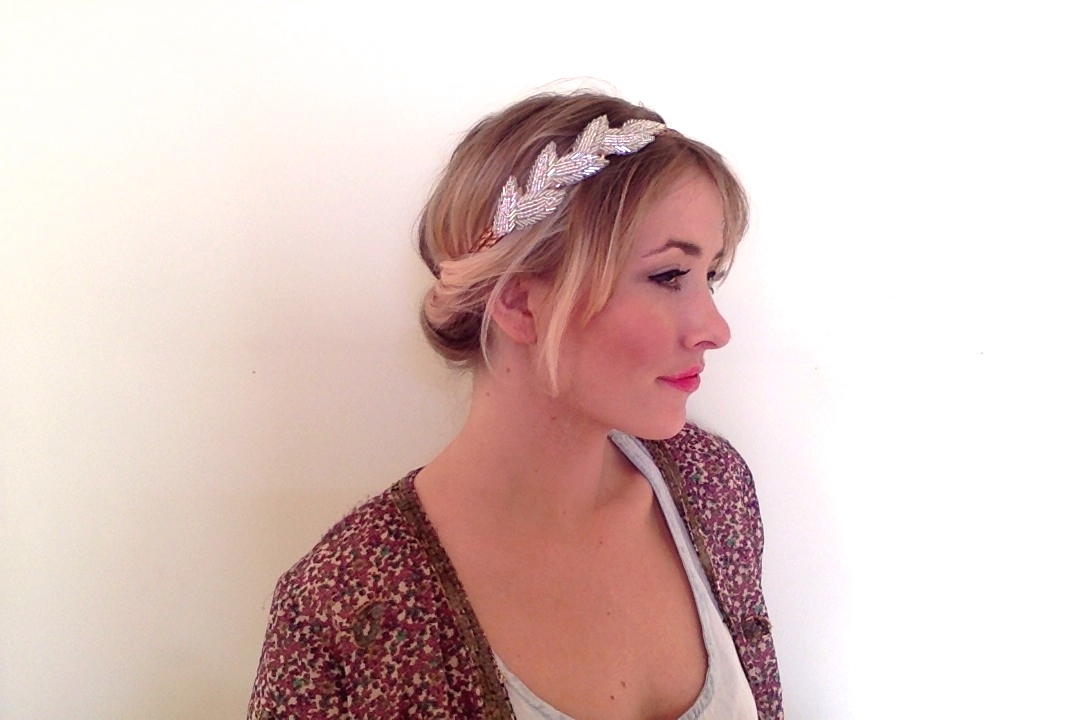
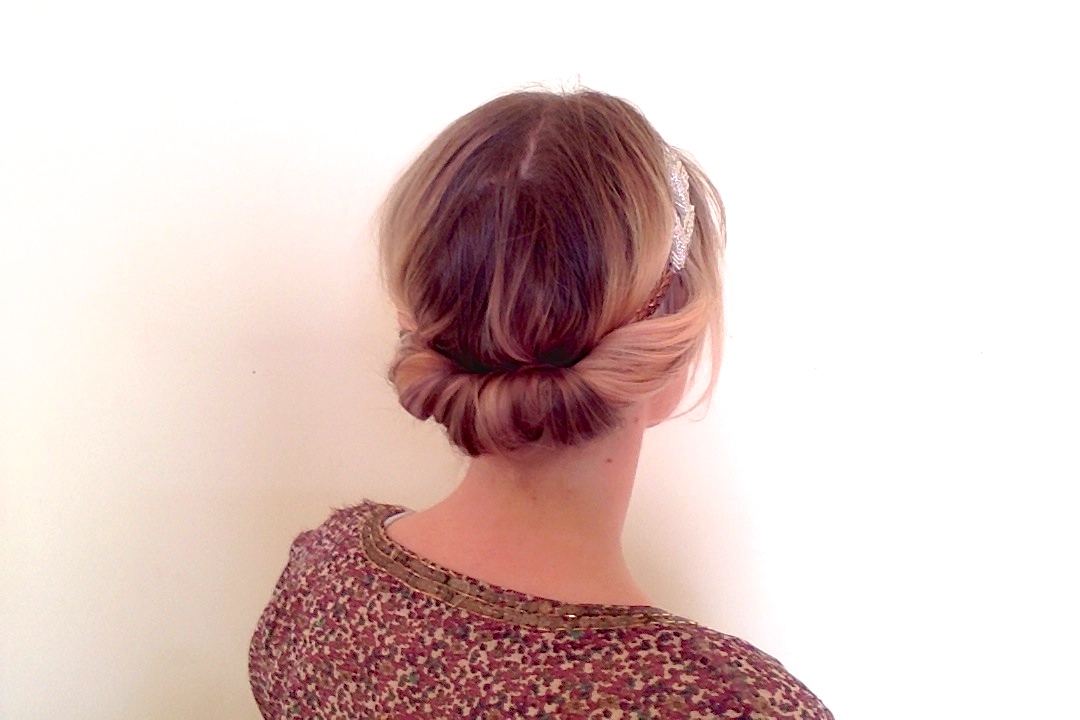
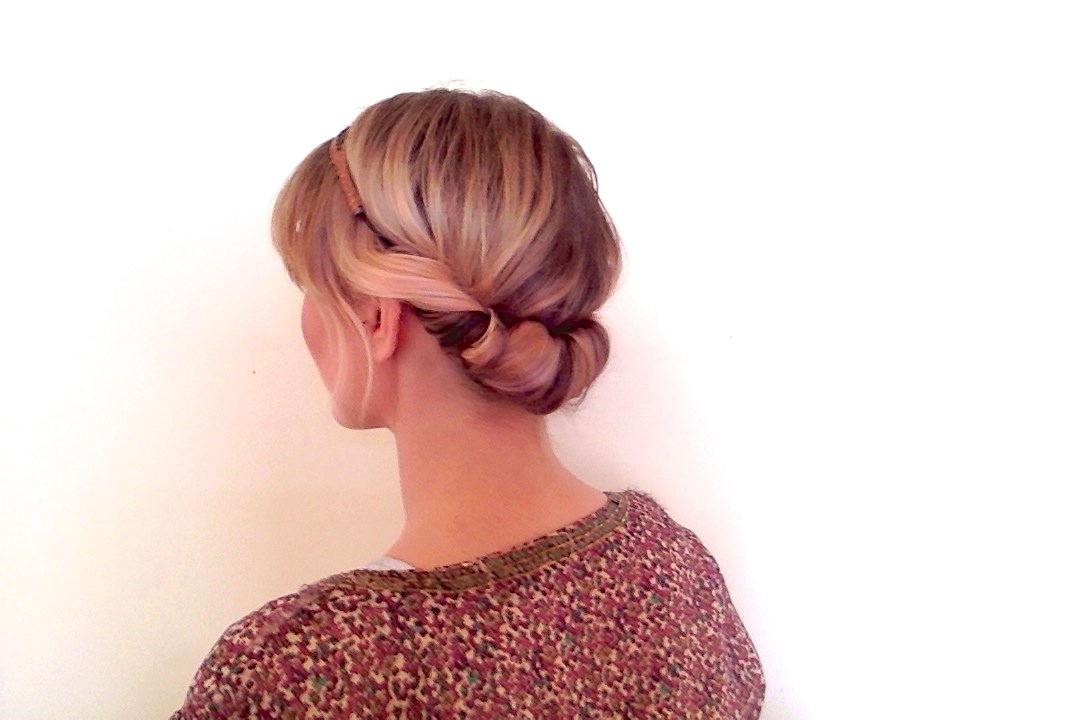
I am obsessed with this awesome
beaded-leaf headband—it adds some instant dazzle! You can wear it so many ways, but today I am showing you this super-easy rolled updo. Starting with your natural part and your hair down, place the headband on, leaving your fringe out. Starting on either side, take your hair and begin tucking it into the elastic of the headband (the roll will naturally form). I like to do the right side, then the left side, and finally the bottom middle section last. Trust me, this look is way easier than it looks, and it takes no time—promise!
Day 11: Wednesday, Feb. 11—Messy Mid-Pony
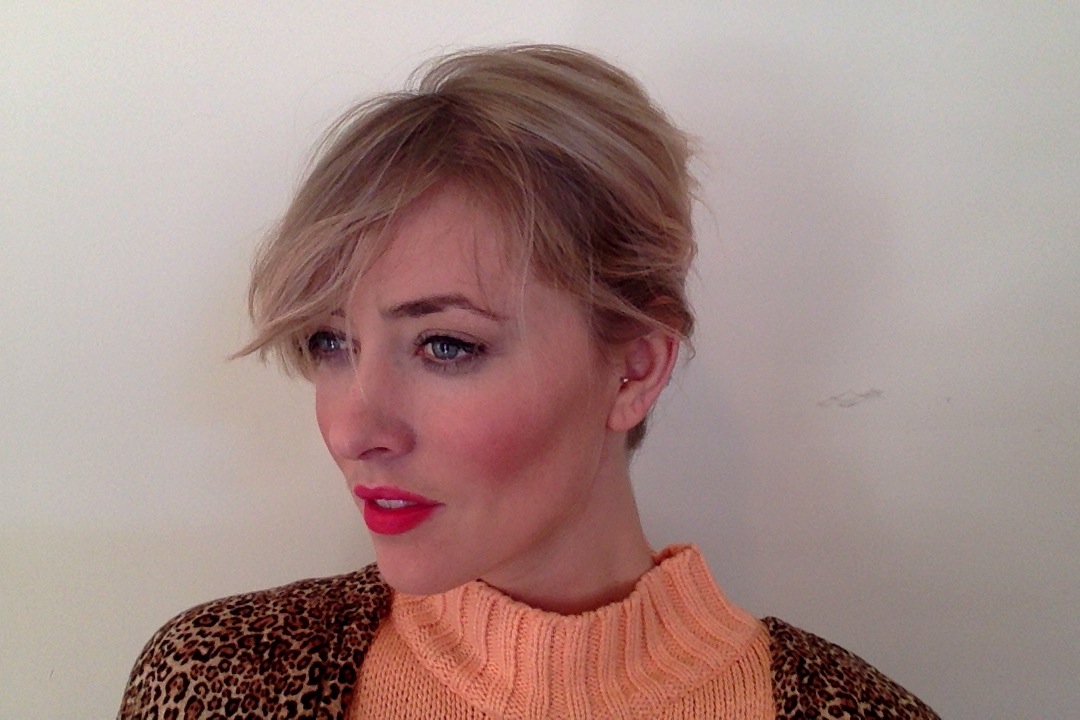
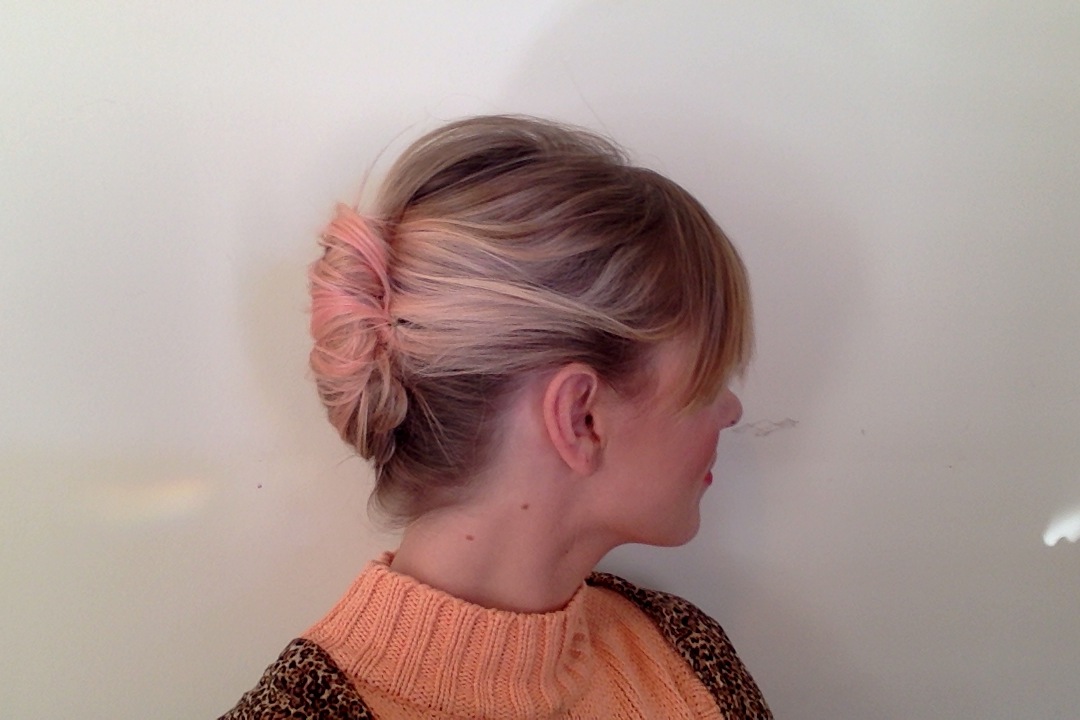
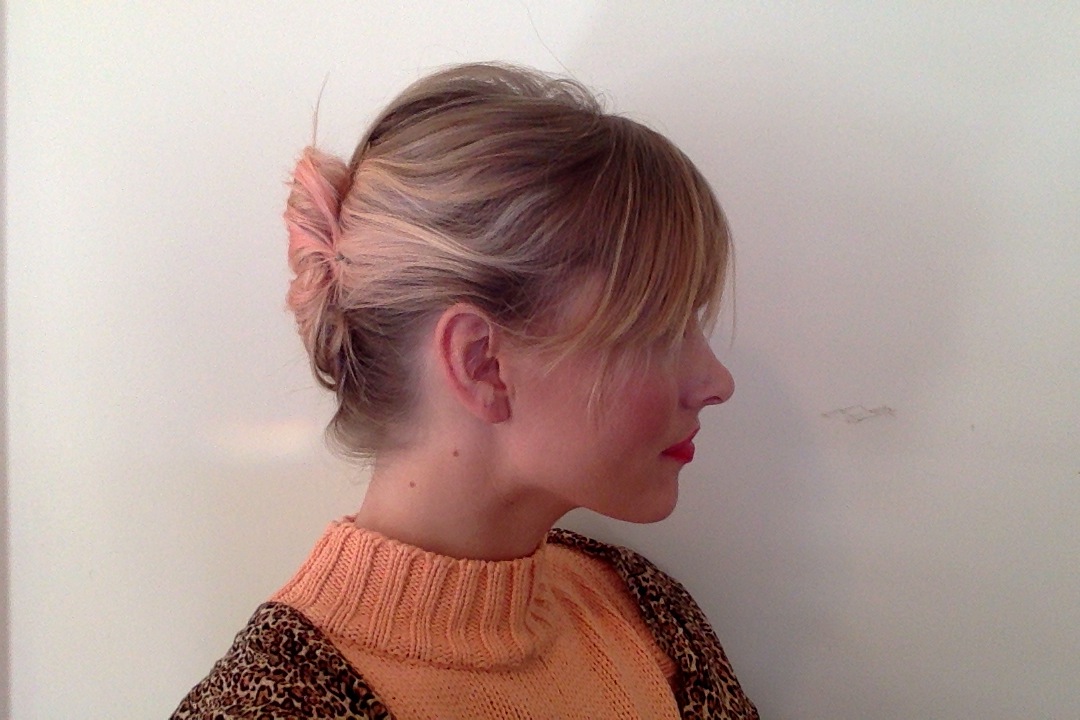
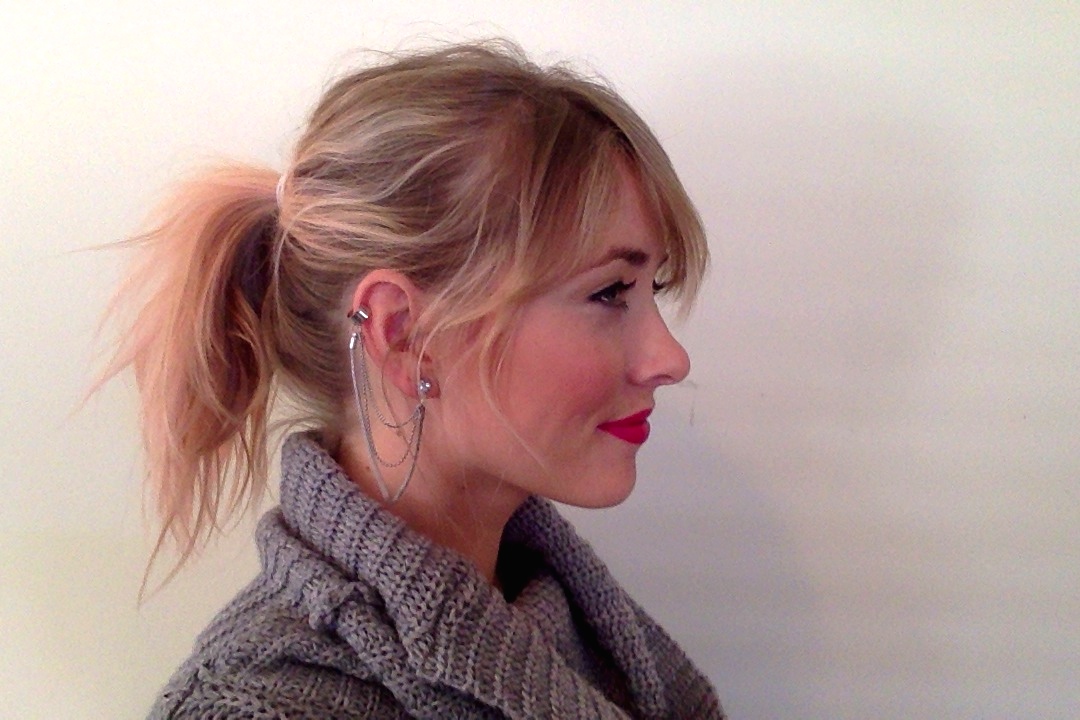
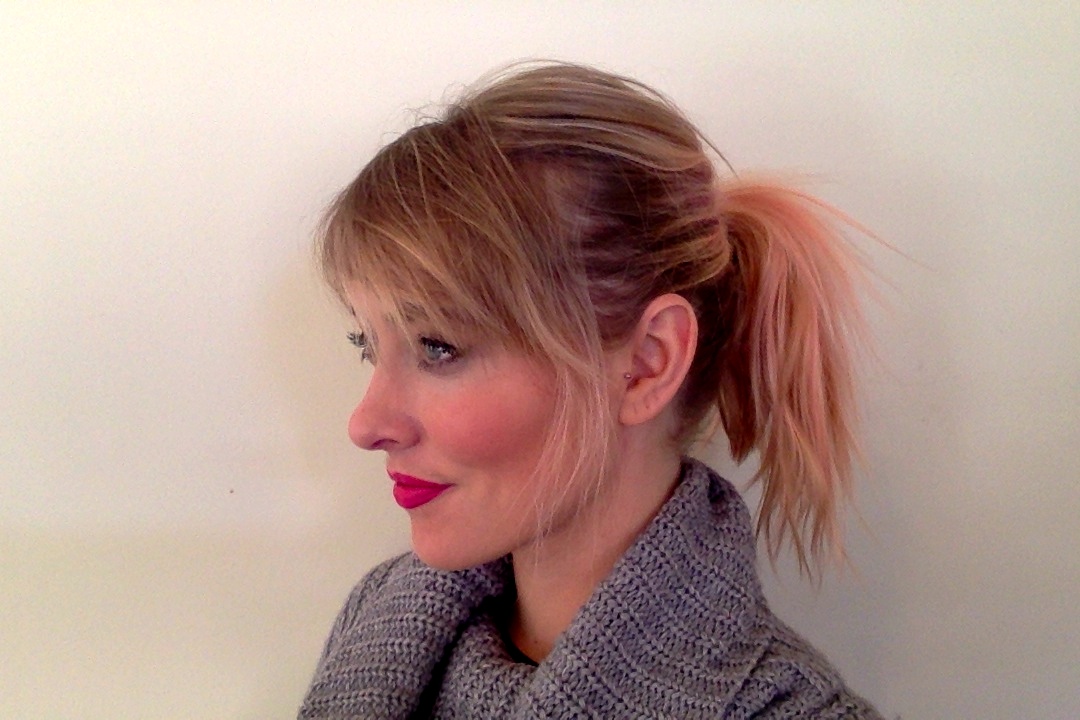
A mid-pony is often overlooked…but I love the placement! Without using a brush (only your hands), gather your hair to the back middle section, a little above the height of your ears. Tie your elastic as tight as possible—you don’t want a droopy mid-pony. Love this lively messy pony, especially with a good turtleneck!
Day 12: Thursday, Feb. 12—Front Twist
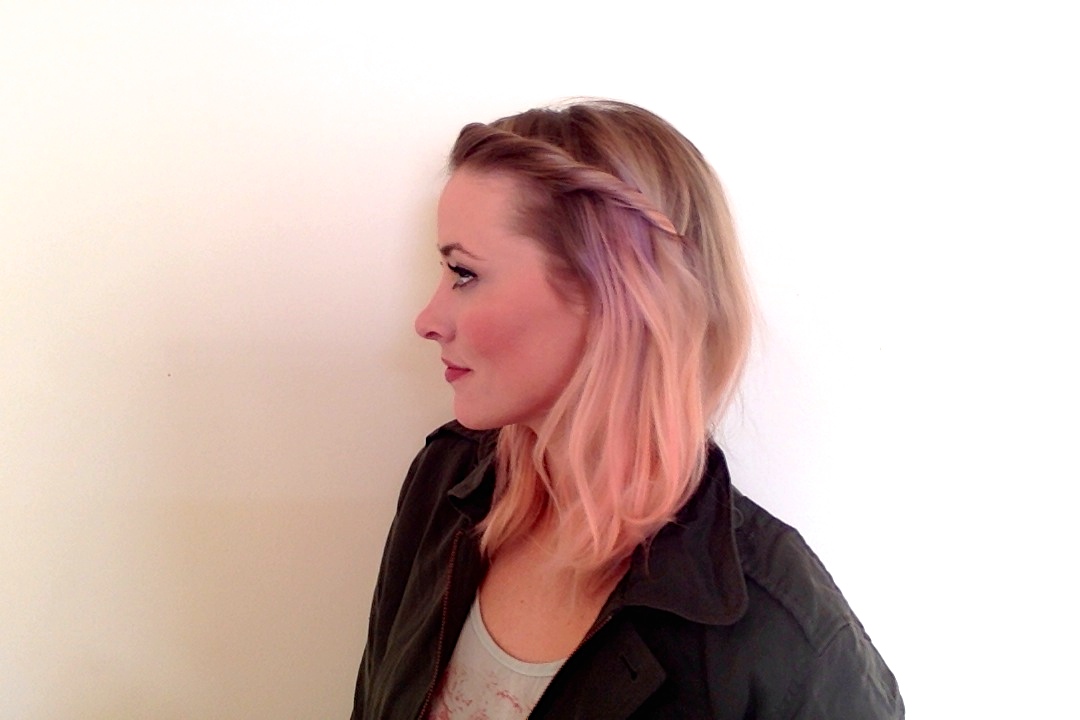
A simple front twist like this will give you a worry-free hair day (and into night).Your hair will be out of your face while still having style. Take the front section, starting above one eyebrow, and start twisting, gathering a little hair as you make your way to the other side. Secure with a bobby pin slightly behind your ear. Grab a leather jacket and go check out
Redux’s art show tonight!

Day 13: Friday, Feb. 13—Low, Smooth Bun
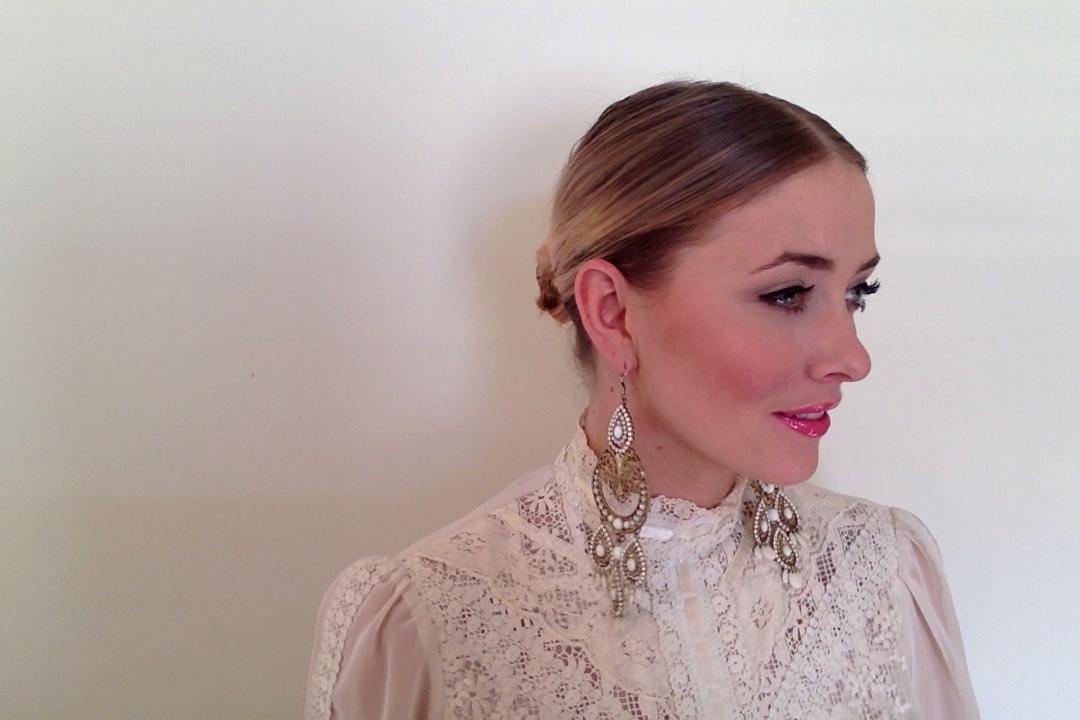
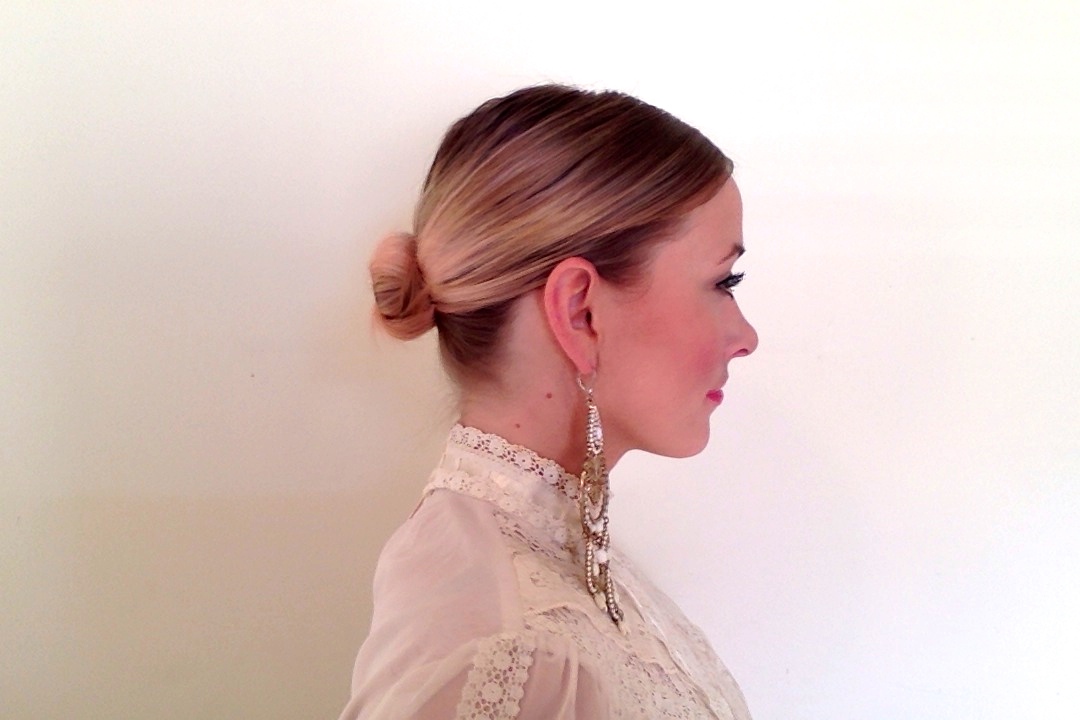
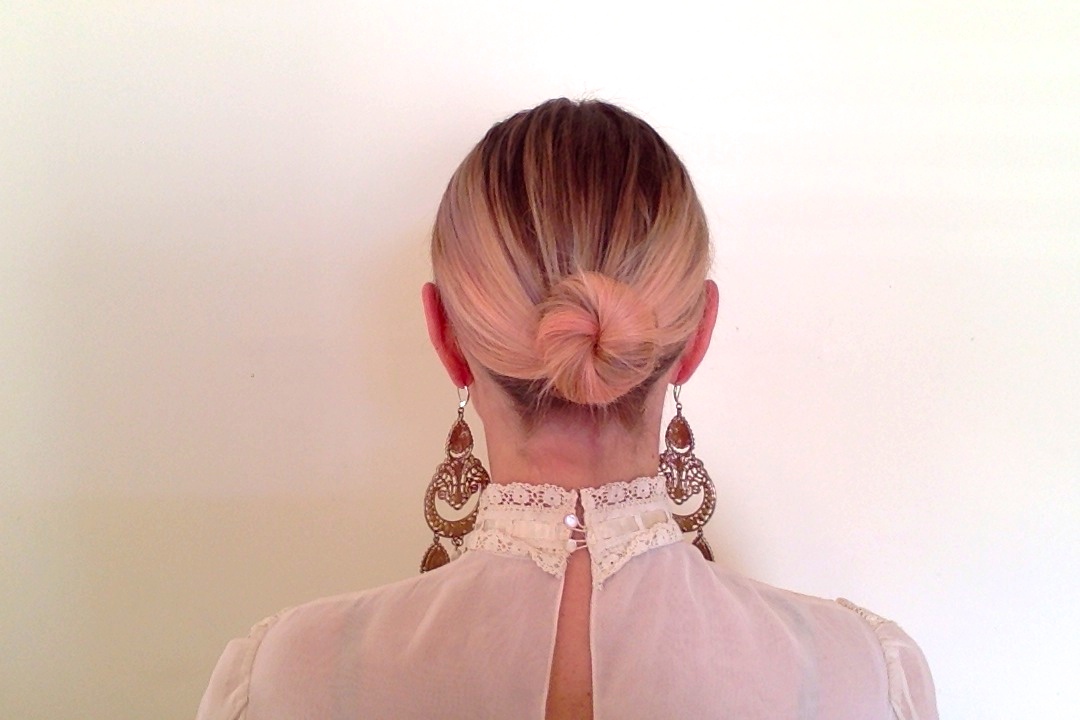
Ditch your Friday the 13th superstitions—you’re going out tonight! This sleek, low bun is very witchy chic. Part your hair in the center, and using a boar-bristle brush, smooth your hair back and down into a low ponytail. Twist your ponytail as tight as possible, and begin to wrap around into a bun. Keeping it tight, secure with bobby pins. Hairspray and a nice shine/gloss spray will complete the look. A drink at
Elliotborough Mini Bar seems like the perfect atmosphere tonight.
Day 14: Saturday, Feb. 14—Romantic Side Wave
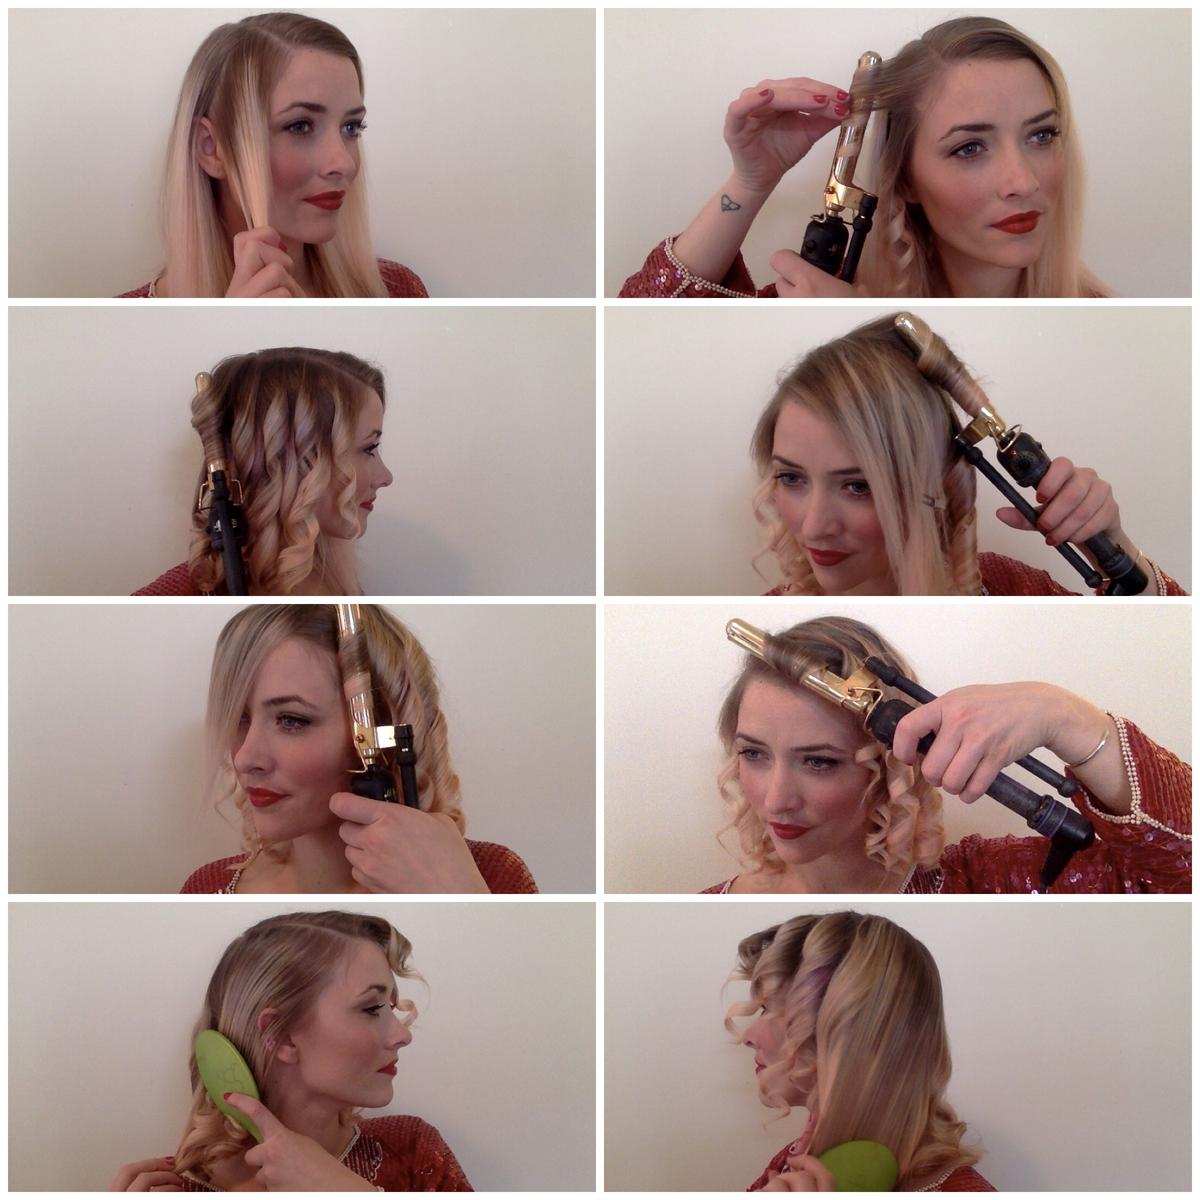
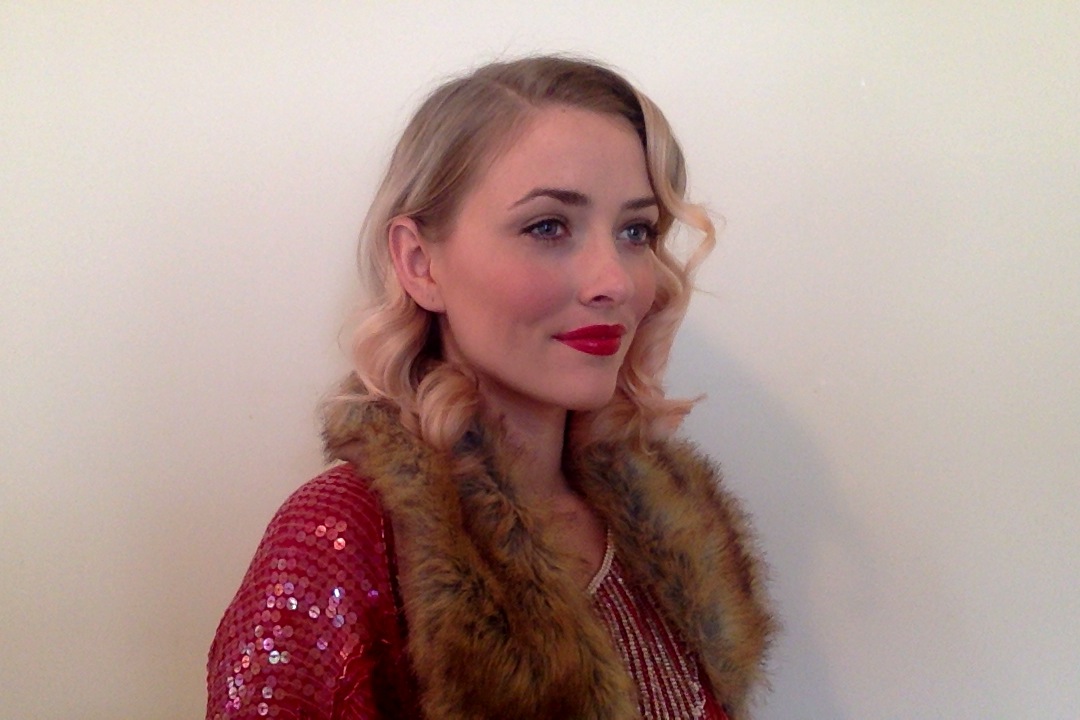
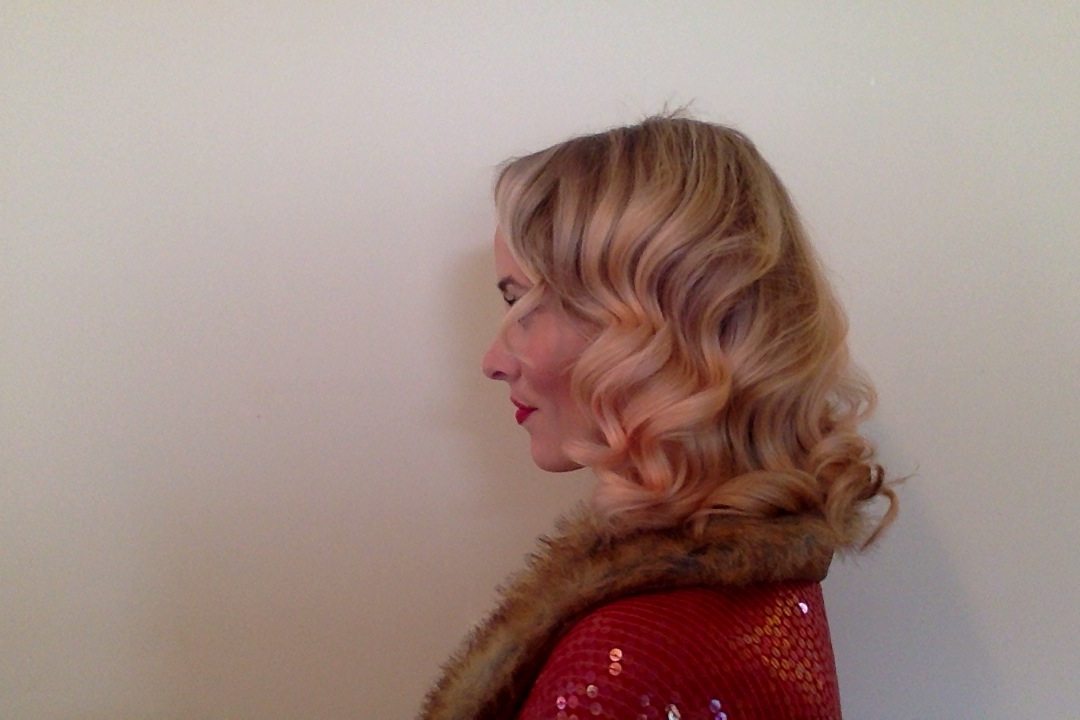
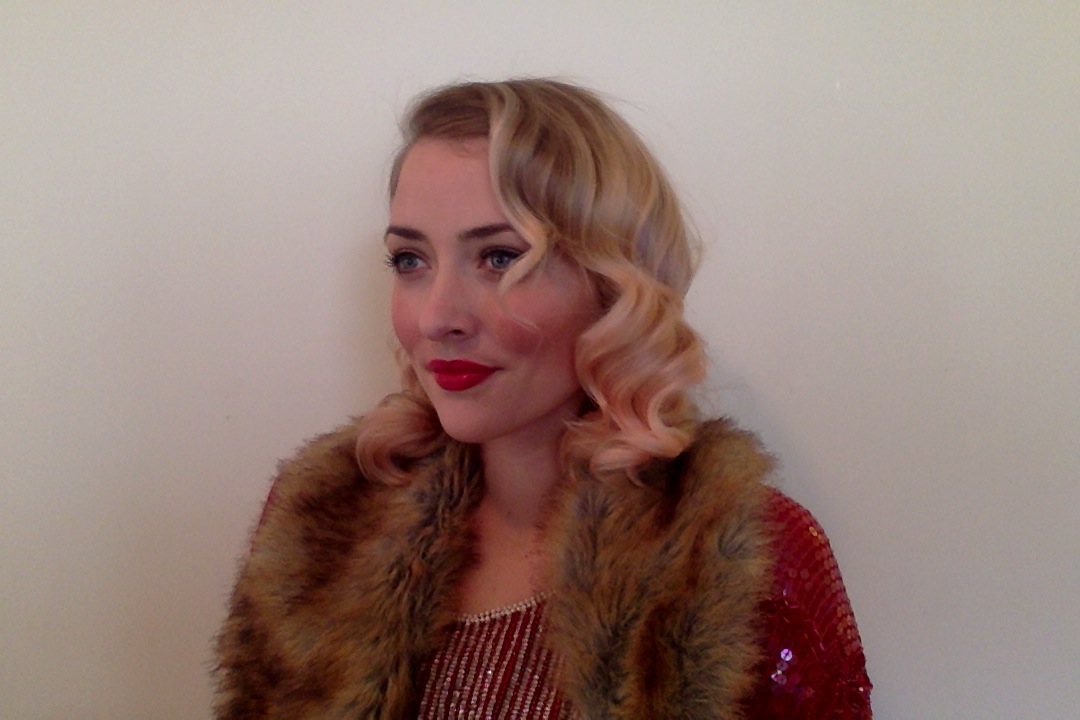
Holy moly! Saturday night + Valentine's day! That means you should actually have time to get ready for your date night (assuming you don’t work Saturdays…)! Either way, set aside a wee little bit more time for this special-occasion evening to complete this gorgeous vintage wave. Start by parting on whichever side is most natural for you, but go a little bit further over than normal. Give your hair a good, light hairspray. Then, starting on the side with less hair, take a vertical section from part to ear. Divide that into two sections. Begin curling AWAY from your face. All of your curls will be going the same direction for this look. Continue taking vertical sections, moving around the head, and curling in the same direction. (Once you get to the other side of your head, your curls will be going towards your face.) Doing your fringe last, make sure to set the curling iron back a little bit so that you can get a swoop! Let the curls cool, give them another spray, and then gently brush the curls out from top to bottom. The curls should natural bind together, forming a romantic, vintage wave. Already feeling the love in the air!!
