
Guest Andrew C. Petersen post by Lisa Burson.
For the final segment on beauty brush basics, I had my friend Lisa Burson—a licensed aesthetician, senior makeup artist, and neat freak—add her two cents. Enjoy! —ACP. Find the first two installments of the Brush Basics series here and here.

Okay, ladies—you’ve invested money in your brushes, now lets go over how to take care of them and keep them clean. First things first, the easiest way to keep your brushes clean is to use them on a clean face! I recommend you do not continue to touch up throughout the day with your brushes. Try disposables so that you don’t wipe over the face collecting oil, dirt and dead skin cells that accumulate during the day.
If you do use your brush for touch-ups, try using a brush cleansing spray, which generally have alcohol in them to help kill off any bacteria that the brush may come in contact with. I love Vincent Longo Brush Cleaner, a professional-grade, quick-dry brush disinfectant available at Meeting Street's Pink Dot Beauty Bar—it works and smells divine! The powerful, vanilla-scented formula removes all traces of makeup, including difficult-to-remove textures such as lip glosses and lipstick, from natural and synthetic brushes. It's an essential for every gal’s makeup kit. Spray the brush head and then wipe off any residue onto a clean tissue. Make sure you straighten the bristles afterward for drying.
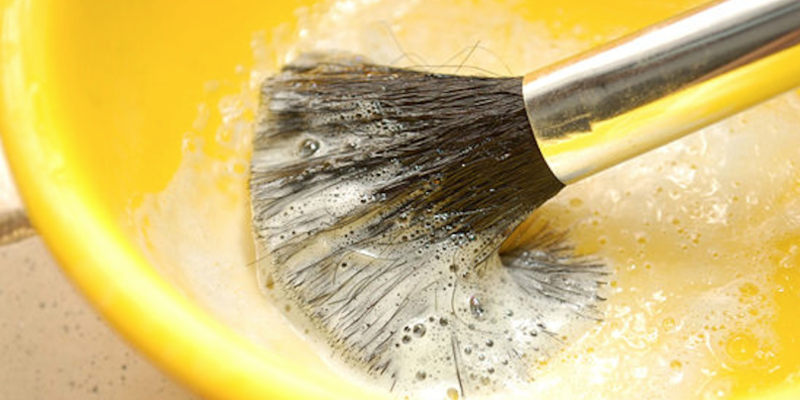
 In addition to spraying your brushes after touch-ups, pick one day a week to shampoo them. Even if you have only used the brushes on a clean face each morning, you still need to give them a bath. Imagine all the junk that could get on the brush while laying around on your vanity or powder room! I like to use a clarifying shampoo, like Bumble & Bumble’s Sunday Shampoo. It is always a good idea to swipe the brushes across a clean paper towel to remove any excess product, then place them in warm water with your foaming brush cleanser.
Generally, I let them sit in the water for a few minutes. This allows the cleanser to penetrate any built-up product, ensuring the removal of unwanted dirt and oil. After a few minutes, remove them and run them individually under warm water, using your fingers to remove the dirty water and any remaining product. To dry the brush, remove excess water, and straighten the bristles, cover the bristles with a paper towel and squeeze them in a downward motion toward the head. This is a crucial step to maintaining the shape and efficacy of the brush head.
Next, take a hand towel and roll one side to create an angle to lay the brushes for drying. The brushes should be place with the handle on the “rolled” portion of the towel, allowing the head to rest in a lower position, to ensure that as it dries, the water can run out and away from the fennel (the metal or plastic piece that securely holds the brush hair and adhesive).
You always want to keep the water from sitting on the fennel overnight or during the dry time because it can lead to erosion of the adhesive and will eventually cause your brush to lose its bristles. If your brushes do not dry properly, they will lose their shape and then will not be effective for the task in which they were designed. So always take good care of them... brushes make all the difference in your application!

Copyright © 2015 Dez Inc. dba GulfStream Communications