As I’m sure you’ve all noticed, today was the first cold snap of the year and I could not be more excited about it! I’m preparing for the first of the fall holidays and a crowd favorite—HALLOWEEN! This year I’m feeling rather cold blooded.
Reptile Makeup tutorial
To prep your face, start with your usual foundation to contour and highlight. Before setting your foundation, apply Jonny Cosmetics Shadow Magnet to the eye area you’ll be doing your design on. In my case, I worked on top of my lid, underneath my lower lashes down toward the top of the cheek, and above my brow bone.
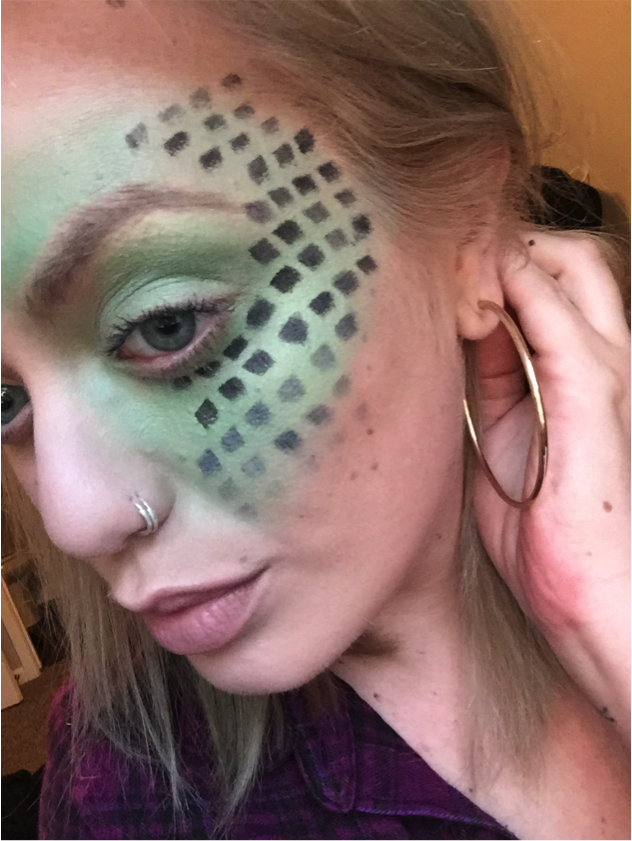
I started my design using a fluffy, blending brush to apply a shimmery light green shadow to the area that I already primed, blending out the edges in large circular motions to create a gradient.
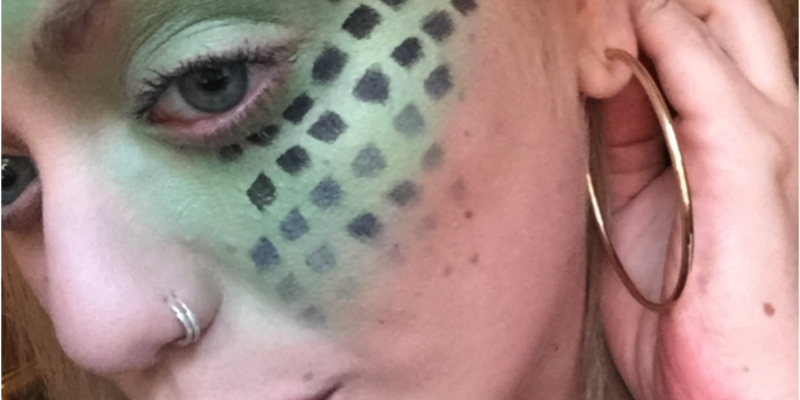
Next, using my Morphe Brushes flat angled brush, I free handed reptile scales using a jet black in the center and a gray toward the edges to aid in the gradient. I want this to look like the scales were just “peeking” through my skin. Wet the angled brush first to get more of a paint out of your shadow.

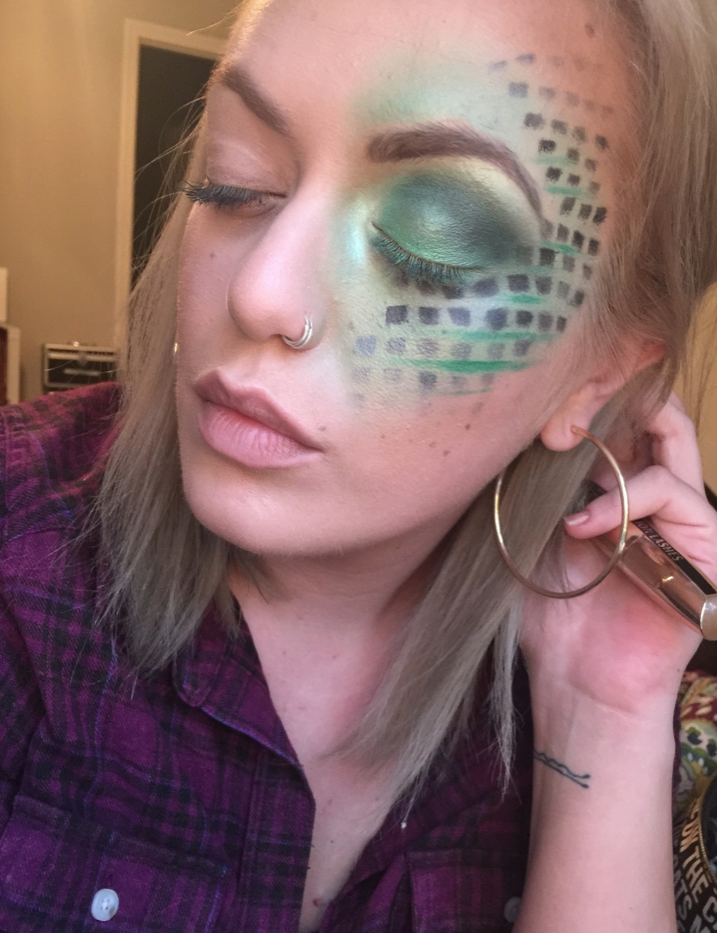
Using a matte emerald green, I added details with a damp flat shadow brush.

I applied NYX’s “Jade Pearl” on my lid and MAC’s “Smutty Green” in my crease to contour blending high up on the brow bone.

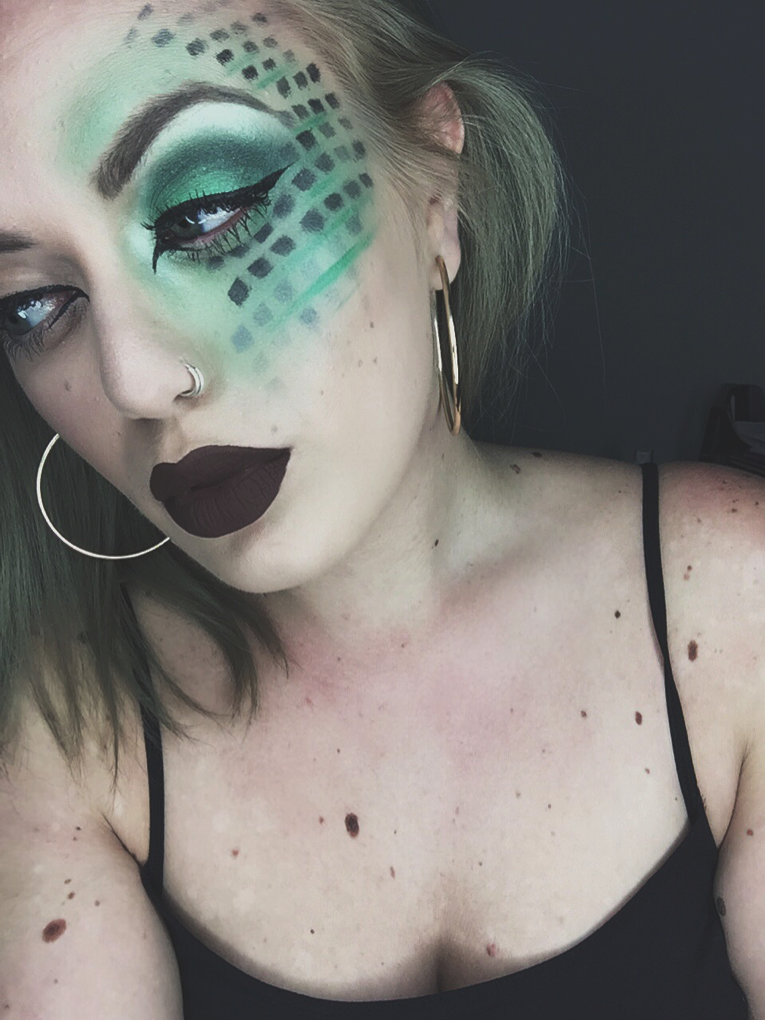
I finished with my absolute favorite Lime Crime liquid liner in “Quill” for a winged liner—so sharp you could cut a man and a pair of fun lashes! Be creative with this part and play with different lashes and designs.

Better yet, play with an eye color app like I did to really pull together the look.
